About Reviewing Your Build
Upon initiating a build, PhotoMesh automatically switches to Review mode, enabling an array of capabilities relating to the processed data. These include:
§ Viewing all processed build data in the 3D Window, e.g. AT and reconstruction tiles, calculated camera positions, and point cloud, 3D model, and texture data.
§ Reading build and AT reports containing statistical and graphical information about the build process.
§ Exporting/importing tiles for manual retouching.
§ Rerunning the build (for the entire project or for selected tiles) with different parameters.
As soon as a build step is completed for a tile, its build data becomes immediately available and viewable, e.g., if aerotriangulation was performed, PhotoMesh can display the calculated camera positions in the 3D Window, and if reconstruction tiles were calculated, they can be displayed in the 3D Window, with each tile colorized according to the build step completed.
Upon build completion, a Quality Report is displayed with information about errors and missing information, e.g., high median errors (larger than 0.5 px), high standard deviation errors (larger than 0.8 px) or inaccurate positioning data.
In addition to these capabilities which are specific to Review mode, you can also perform in Review mode nearly all operations that were available in preparing for the build, e.g. add or edit control points, manual retouch and water polygons, and reconstruction polygons, add terrain objects and layers and perform measurements. The only operations that cannot be performed in Review mode involve changes to the project’s photos (addition, exclusion, or deletion) or modifications to the AT area.
Turning on Review Mode
To turn on review mode:
§ On the Home tab, in the Review group, click Review Mode.
Note: Review mode is activated automatically after a build was performed.
Clearing Review Data from Terrain
To clear review data:
§ On the Home tab, in the Review group, click Clean Review Data. This clears any point clouds, models, or textured models displayed on terrain or photo projection on the terrain.
Managing Build Versions
To manage your build versions:
1. On the Home tab, in the Build Versions group, click Versions Manager. The Build Versions Manager is displayed.
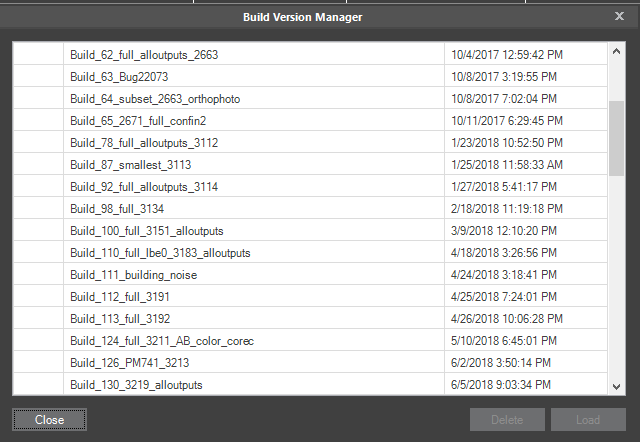
Build Versions Dialog
2. If you want to load a different version than the current one, select the version and click Load. If the current version was not saved, a dialog is displayed asking if you want to save it before the selected version is loaded. Click Yes to save.
3. If you want to delete a version, select the version and click Delete.