Installing PhotoMesh
The PhotoMesh application installation includes fuser installation. A standalone fuser installation is also available. See "Installing PhotoMesh Fusers" in this chapter for information.
Note: If your project will include a WKT of a coordinate system that references a grid shift file (GSB, GTX) that was not bundled with the PhotoMesh installation, the grid shift file can be automatically installed during the PhotoMesh installation process by placing a zip file that includes the required grid shift files next to the PhotoMesh.exe file in the installation folder. See "Grid Shift Files" in the "Basic Concepts" chapter for information on grid shift files and how to install them after PhotoMesh was installed.
To install PhotoMesh:
Note: On some operating systems, administrative privileges may be required.
1. If you have an old version of PhotoMesh running, close it before continuing with the installation.
2. Place the PhotoMesh license file (SLPhotoMesh.lic) next to the PhotoMesh.exe file in the installation folder.
3. On your computer, browse to the Photomesh.exe file and double-click. The Skyline Software End User License Agreement dialog is displayed.
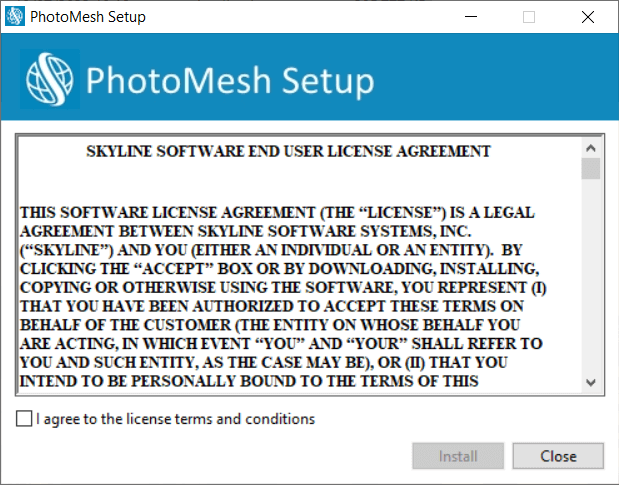
End User License Agreement
4. Select the check box to agree to the license agreement terms and then click Install to continue the installation.
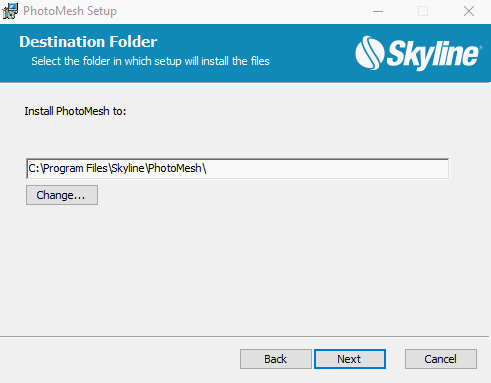
Destination Folder
5. Select the folder in which setup should install the files, and then click Next. The Ready to Install PhotoMesh dialog is displayed.
Ready to Install PhotoMesh Dialog
6. Click Install. A dialog is displayed when the installation process is complete.
PhotoMesh Setup Complete
7. Click Finish to exit the Setup Wizard.
Manual Installation of the HASP Driver
If your software was delivered with a HASP license key, you can manually install the required HASP driver.
To install the HASP driver:
1. Download the HASP driver zip file: Sentinel_LDK_Run-time_setup.
2. Unzip the file to a temporary directory, and run the HASPUserSetup.exe file.
3. Follow the installation wizard instructions to complete the installation.