Viewing a Production Report
The Production report contains statistical and graphical information about the build process. The first section of the report displays summary information: If the report is generated for a specific tile, it will only display information for that tile.
§ Basic project information including: project name, number of photos, and total input gigapixels.
§ Basic aerotriangulation information including: AT area, number of aerotriangulation tiles, calculated photos, and mean median error. The mean median error is the average of the median reprojection errors for all photos in the collection.
§ Basic reconstruction information including: output area, number of reconstruction tiles, and output coordinate system.
§ Performance information including: build and fuser time.
This summary section is followed on each report tab by detailed information and graphs relating to the respective tab:
§ (Build Process) Steps – Details about each build step: steps involved, tiles produced, processing time, and active fusers. When a reconstruction tile is selected, details display about the tile building steps (point cloud, model, texturing). When an aerotriangulation tile is selected, details display about the aerotriangulation.
§ Fusers – Statistics for each fuser regarding processing time for each build step and each tile in each step.
To view a production report:
1. Do any of the following:
Note: The same production report opens in each of these options but with different filter values selected.
§ On the Home tab, in the Process group, click the arrow under Reports, and select Production Report.
§ Select a tile in the 3D Window or in the tile list, and then on the Tile tab, in the View group, click the arrow under Reports, and select Tile Production Report. The report displayed will display information only for the selected tile.
§ In PhotoMesh Build Manager, click the Production Report button.
§ In PhotoMesh Build Manager, right-click a fuser, and select Fuser build report. The report displayed will display information only for the selected fuser.
§ In PhotoMesh Build Manager, right-click a tile, and select Tile build report. The report displayed will display information only for the selected tile.
2. At the top of the Production Report, select a report type. This determines what detailed information and graphs display in the section following the summary section.
§ Steps (Build)
§ Fusers
3. The detailed information and graph data can be filtered to display information only about tiles with warnings or errors or about specific build process steps, fusers, or aerotriangulation tiles. Click Filter and, select one of the following:
§ All
§ With warnings
§ With errors
§ User selection
4. If you choose User selection, the Select dialog is displayed:
a. Select the required step or fuser (depending on the report type being viewed). Use CTRL and SHIFT to multi-select. Then click OK.
b. If you want to change your selection, click Select to reopen the Select dialog.
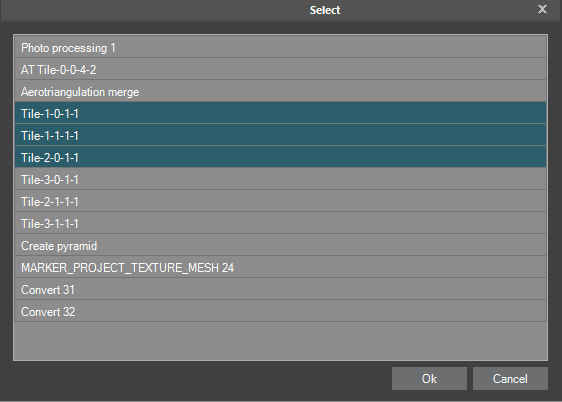
Select Dialog
5. If you want to expand or collapse parts of the report to make it easier to find and view only the information you want, click Expand/Collapse All at the top of the report.
6. If you want to export the Production Report as an HTML file, at the top of the report, click Export. Then in the Export Production Report dialog, browse to the required file location, and click Save.
7. If you want to print the report, at the top of the report, click Print.