Swipe Snapshots
The Swipe Snapshots tool helps you create and compare snapshots showing different versions of the area in view in the 3D Window by showing or hiding objects in the Project Tree.
Swipe Snapshots Tool
To use the Swipe Snapshots tool:
1. In the 3D Window, navigate to the required area, and then create the required scene by using the Project Tree to show or hide objects.
2. On the Analysis tab, in the Comparison group, click the arrow under Swipe, and select Swipe Snapshots. When snapshot generation is complete, a Swipe Snapshots dialog is displayed.
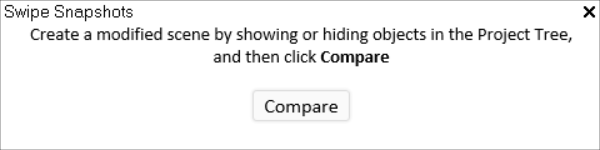
Create Modified Scene
3. Create a modified scene by showing or hiding objects in the Project Tree, and then click Compare.
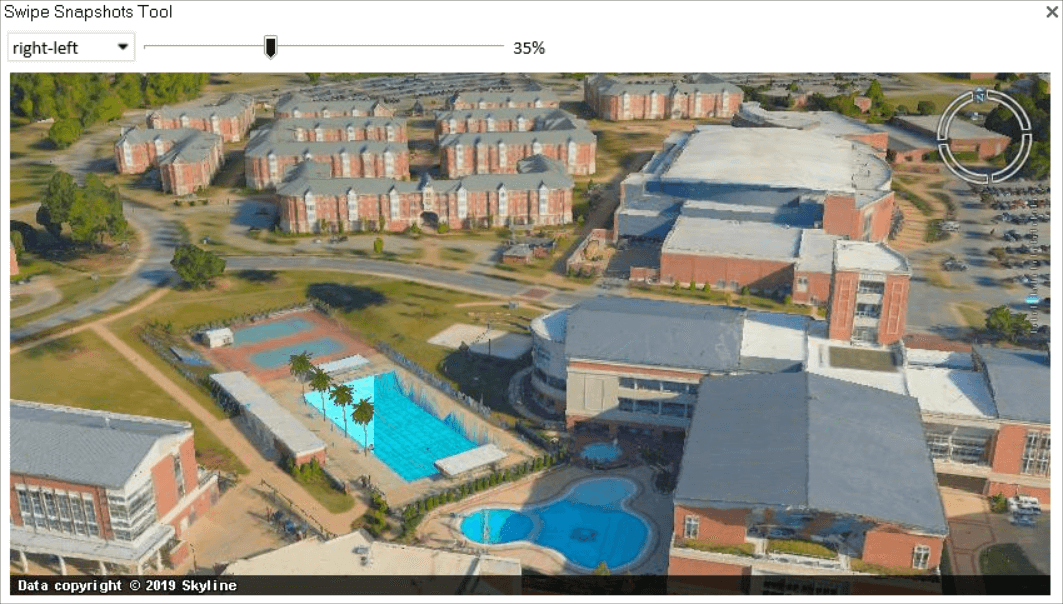
4. When the snapshot is generated, use the following controls:
§ Mode selection – Selects the slider control mode. Choose between four clipping modes (right-left, left-right, top-bottom and bottom-top) and Transparency mode.
§ Slider control – Defines the clipping or transparency level extent. Slide the slider all the way to the left to completely show the first snapshot, and all the way to the right to completely show the second one. As the slider moves between these extremes, the first snapshot is gradually clipped or opacity decreased to reveal the second one.