Creating Movies from Presentations
When creating a movie from any presentation in your project, you have the option to use either the MP4 format with H.264 codec or the Full Frames (Uncompressed) AVI format. Both formats allow for the recorded movie to be viewed in a variety of players and browsers, making it easy to share and distribute your presentation.
To create a movie from a presentation:
1. Create a presentation. See “Creating and Editing a Presentation” in this chapter for information.
2. In the toolbar, at the top of the Presentation Editor, click Create Movie ![]() .
.
3. In the Settings dialog, set the following:
§ Frame Size - Select the size of each frame or file in the movie. Select Current Size to use the current width and height of the 3D Window as the dimensions of the frame or choose from one of the other standards (including the industry standards for PAL and NTSC).
§ Hide Screen Overlay – Set to True to hide screen overlay when playing the presentation. See “Using Screen Overlay” in the “Basic Concepts” chapter.
4. Click Create Movie. The Video Compression dialog is displayed.
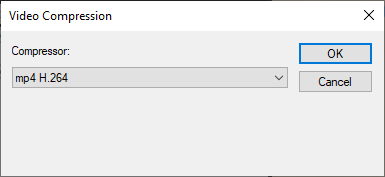
Video Compression Dialog
5. Select a compressor, and click OK. The Save As dialog is displayed.
6. Browse to where you want to save the movie, type a File Name, and click Save.
The Creating Movie dialog is displayed.
Note: A progress bar is shown in a Status box. This box includes a Stop button. If you stop the process before it is completed, the movie is created up to the moment you pressed the Stop button.
The creation of the movie can take a few minutes.