Adding a Reference Project to Use in Aerotriangulation
Adding a reference project is the process of adjusting photos in your project to the geographic location of photos of the same geographic area in a different project. When building a project that overlaps partially or entirely with a different project that will be overlaid on the same map in a client viewer, it is important to ensure that matching areas align properly. This can be achieved by adding the older "base" project as a reference project for the new "target" project. After adding the reference project, the Reference Project group is listed in the Project Tree and each project’s photos are accessed from the Reference Photos list, but its photos are not displayed in the 3D Window. When building the new project, PhotoMesh establishes a correspondence between points in the reference project and target project, so that the positions of identified features in the target project match the geographic positions of the same features in the reference project.
This tool can be particularly useful for multiple flights over the same area. Ground control points or high accuracy GPS locations (RTK, PPK) can be used for the first flight and then the reference project mechanism can be used to accurately register the other flights, even without GCP’s or accurate location information (e.g., in GPS-denied areas).
To add a reference project:
1. On the Home tab, in the Add group, click the arrow under Control Points and select Add Reference Project. The Add Reference Project dialog is displayed.
2. Browse to the required reference project, i.e., the calculated AT of that build (ATResult*.sqlite), and click Open. The project’s photos and photo and collection parameters are loaded into the project. When the aerotriangulation step of the build process is performed, the project will be automatically aligned to the reference project.
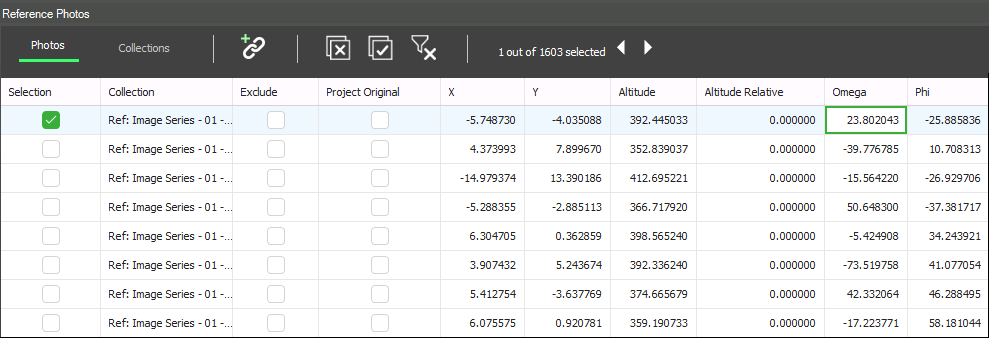
Reference Photos List
In the Reference Photos list, you can view but not edit the properties of the photos in your reference projects. See "Modifying Photo and Photo Collection Properties" in the "Photo Management" chapter for information about the photo properties.
Reference Photos List