Starting the Photo Inspector Tool
To perform photo inspections, the Photo Inspector tool requires access to the PhotoMesh 3D model output (3DML) and the photos layer generated by PhotoMesh's aerotriangulation process. The tool also needs access to the folder or server containing the original photos used by PhotoMesh.
To start the Photo Inspector tool:
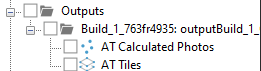
1. Load the output FLY file produced in a PhotoMesh project (outputs.fly) into your TerraExplorer project. To determine the location of this file, in PhotoMesh, open the project with your generated output. Then in the Build Outputs list, select Open Project Folder, or Open in TerraExplorer to open the output in TerraExplorer directly from PhotoMesh. See PhotoMesh User Guide for more information. When this file is loaded into the project, an Outputs group is created in the Project Tree that contains two shapefiles: AT Calculated Photos and AT Tiles. E.g.,
Note: It is recommended to save a copy of the PhotoMesh outputs.fly project to another location or publish it to SkylineGlobe Server. You can publish PhotoMesh projects with photos to SkylineGlobe Server from the Publish Project with Photos to SGS setting.
2. On the Tools tab, in the PhotoMesh group, click Photo Inspector. The Photo Inspector dialog is displayed.
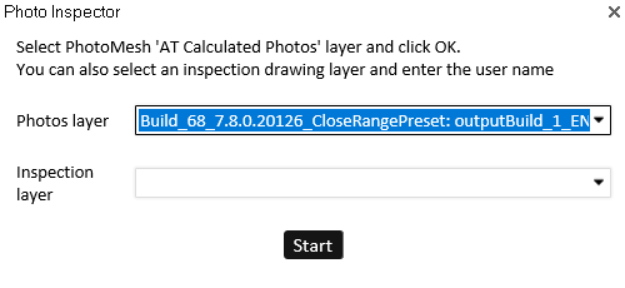
Photo Inspector
3. The Photos layer field is automatically populated with the AT Calculated Photos layer in the selected project. If there are multiple Calculated Photos layers, select the required layer from the dropdown list.
4. The Inspection layer field is automatically populated with all polyline and polygon feature layers in the project. See "Using Inspection Layers" in this chapter for more information.
5. Click Start. The Photo Inspector Quick Guide is displayed.