PhotoMesh and Queue API
PhotoMesh offers REST APIs to automate project production and create/manage project queues.
PhotoMesh API
PhotoMesh provides a REST API for PM Production to automate the production phases, e.g., load photo files or list, set AT and reconstruction areas, begin and manage a build, and create new build versions.
To view interactive documentation of the PhotoMesh REST API:
§ From the Start page, open the Automation Dashboard and in the PhotoMesh API section, click Reference Guide. See "Automation Dashboard" in the "Basic Concepts" chapter for information.
Note: You can also access it from Resources > PhotoMesh API. See "PhotoMesh Resources" in the "Introduction" chapter for information.
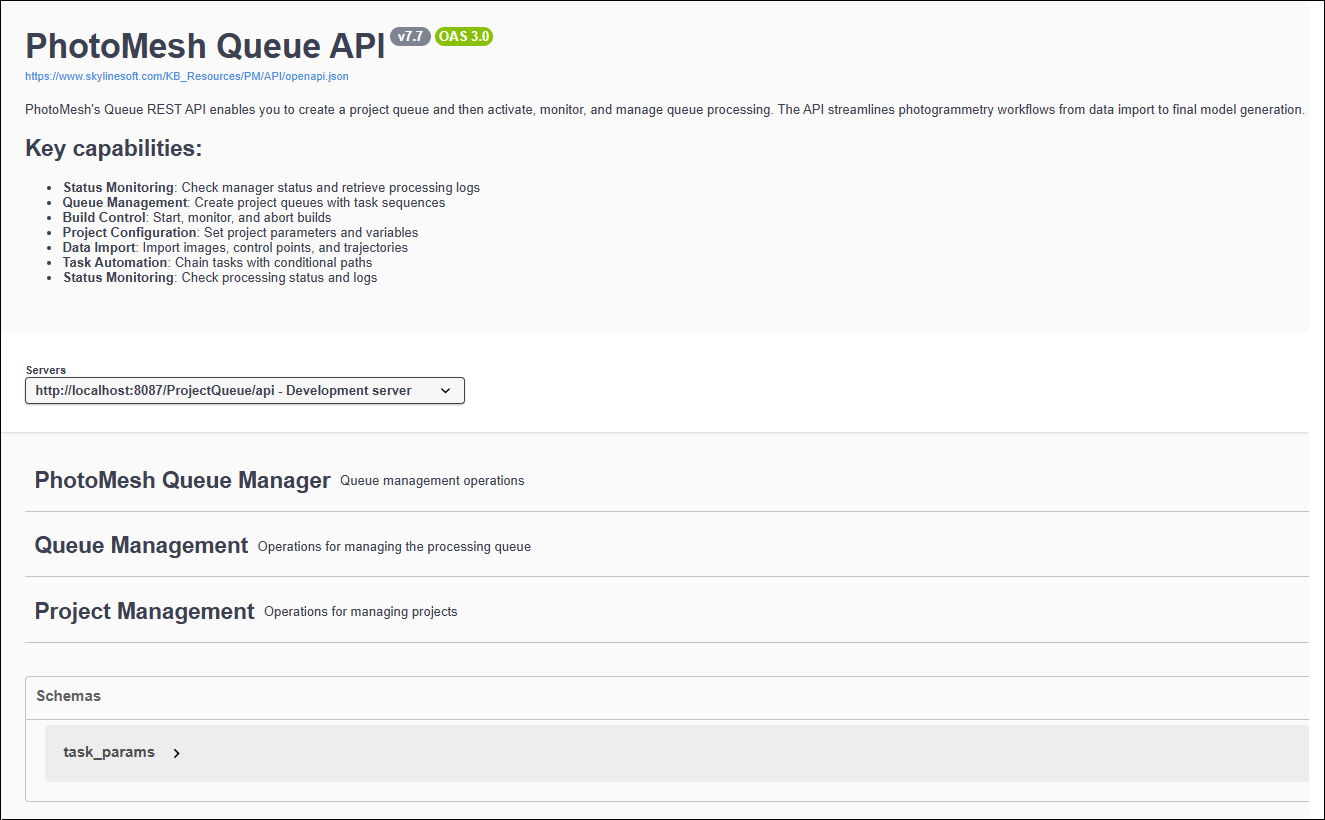
Queue API
PhotoMesh provides a REST API to create a project queue and then activate, monitor, and manage queue processing. A project queue is created using the addProjects API method, which submits a JSON file defining one or more projects and the tasks to execute for each project. See "Project Queue JSON File" in this chapter for more information.
The Queue API is exposed and documented through interactive Swagger documentation. Swagger provides:
§ Queue, Project, and Manager endpoints
§ Request and response schemas, along with JSON request examples for common workflows
§ Parameter descriptions
§ The ability to execute API calls directly against a running PhotoMesh instance
You can access the Queue API Swagger documentation from within PhotoMesh. Opening Swagger from PhotoMesh launches the Swagger interface already connected to the current PhotoMesh environment. This allows you to review the API and execute requests immediately against the active PhotoMesh instance, without additional configuration. The Queue API Swagger documentation can also be opened independently in a web browser. This option is useful for reviewing the API structure and examples without running the PhotoMesh user interface.
To open the Queue API Swagger documentation from within PhotoMesh:
§ Start PhotoMesh, and then from the Start page, open the Automation Dashboard and in the Project Queue section, click Reference Guide. See "Automation Dashboard" in the "Basic Concepts" chapter for information.
To use PhotoMesh Queue API:
§ Start PhotoMesh, and then from the Start page, open the Automation Dashboard and in the Project Queue section, click Project Queue. See "Automation Dashboard" in the "Basic Concepts" chapter for information.
Project Queue JSON File
A project queue JSON file defines the projects to add to the processing queue and the tasks to execute for each project. In addition, the file includes the photo source information and the build and fuser settings required for processing. For interactive and up-to-date documentation of the Project Queue REST API, see the Swagger documentation.
A task represents a single operation performed by the Project Queue, such as creating or opening a project, loading photos or control points, running a full or partial build, executing a script, or pausing processing. Tasks are defined in the tasks array and are executed sequentially, in the order in which they appear. Each task specifies an action and includes a task_params object containing the parameters required for that action.
The complete list of supported task actions, along with their required parameters, supported values, and example request bodies, is available in the Swagger documentation.for the /queue/addProjects and /project/addTasks endpoints.
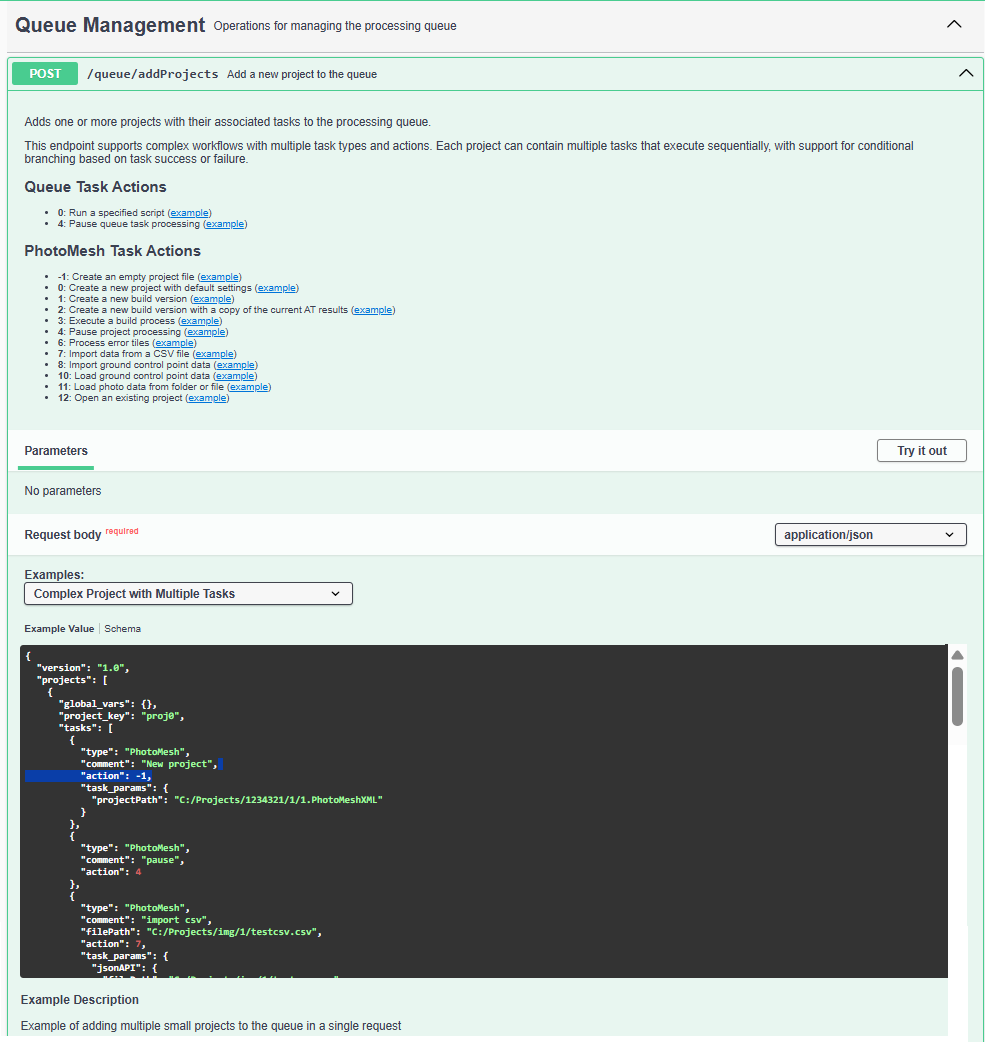
The example below shows the basic structure of a project queue JSON file.
{
"version": "1.0",
"projects": [
{
"global_vars": {},
"project_key": "proj0",
"tasks": [
{
"type": "PhotoMesh",
"comment": "New project",
"action": -1,
"task_params": {
"projectPath": "C:\\Projects\\ProjectFiles\\1.PhotoMeshXML"
}
},
{
"type": "PhotoMesh",
"comment": "Load Photos From Folder",
"action": 11,
"task_params": {
"sourceType": 0,
"sourcePath": [
{
"path": "C:\\Projects\\Images"
}
]
}
},
{
"type": "PhotoMesh",
"comment": "Build AT",
"action": 3,
"task_params": {
"buildFrom": 1,
"buildUntil": 2,
"preset": "PhotoMesh Default",
"workingFolder": "C:\\Projects\\WorkingFolder",
"MaxLocalFusers": 10
}
}
]
}
]
}