Loading Objects from the Data Library
The Data Library has four primary sets of graphic elements (icons, 3D models, lights, and line animation) that you can add to your project. In addition to the local data objects, the Data Library also includes online models that can be accessed if there is an Internet connection.
Note: Building texture files can be loaded from the Buildings-Textures folder located under the TE application files (.\Program Files\Skyline\TerraExplorer Pro\Tools\Data-Library\Buildings-Textures) and old projects using these textures will be supported.
|
Graphic Source |
Description |
|
Icons |
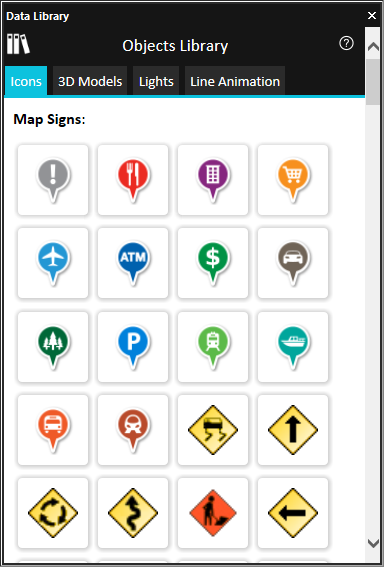
Contains 2D images that you can use with image labels or as a background image for text labels. The images are stored in a BMP or GIF format. This group has three sub-groups: § Map Signs: A set of commonly used map signs and letters and numbers. § Trees: A set of tree icons you can use to cover small areas with trees. Although the trees are not real 3D models, they give a sufficient tree display in many cases. § Flags: A set of flags from nations around the world. |
|
3D Models |
Contains local and online 3D models that you can add to your project. The models are stored in .x, .xpc, .flt, .fpc or .dae file formats. |
|
Lights |
Contains light effect models that you can add to your project. These objects are not true light sources that display light on the surrounding terrain, but rather image labels with the Blend Mode option turned on that simulate local light effects. |
|
Line Animation Textures |
Contains textures that you can use to create lines with scrolling textures. |
Note: The feature layers in the Data Library are set to work with projects using Globe terrain models with Lat-Long projections. You can load the feature layers to local projection terrain only if the project contains the projection of the terrain. See “Terrain Database” in the “Setting the Project” chapter for further information.
To load an object from the Data Library:
1. On the Objects tab, in the Libraries group, click Data Library. The Data Library dialog is displayed.
Data Library Tool
2. Click the required tab: Icons, 3D Models, Lights, or Line Animation.
3. To add a dynamic 3D model, do the following:
a. On the 3D Models tab, select the Dynamic object - Draw Mode.
b. Select the graphic item you want to add.
c. With the cursor in the 3D Window, click the mouse to define the first waypoint of the vehicle’s route. Use additional mouse clicks to add waypoints to the path. Right-click to finish.
4. To add an icon, static 3D model, or light effect, do the following:
a. Select the graphic item you want to add.
Note: To add a static 3D model, on the 3D Models tab, select the Static object - Draw Mode.
b. Click on the terrain to add an instance of the selected item or click Esc to cancel the operation.
Note: You can edit the added items using TerraExplorer Pro editing tools. See “Editing Objects in the 3D Window” in this chapter for information.
5. To add a line animation, do the following:
a. Select the graphic item you want to add.
b. With the cursor in the 3D Window, click the mouse to define the first waypoint of the line animation. Use additional mouse clicks to add waypoints to the path. Right-click to finish.